The 3 Golden Rules to conquer the Stair Tool Kingdom in Revit Architecture
Expert Tips for Maximizing the Revit Stair Tool's Potential
I always look at Stair tool in Revit as a maze - a place where even the bravest architects dare to tread! It's like trying to navigate a puzzle-filled wonderland, with cryptic messages and options popping up left and right, leaving you wondering if you'll ever find the exit.
But fear not, brave Revit warriors! With these Golden rules, you'll be taming the Stair Tool beast in no time.

Rule #1:
Start with a Solid Understanding of Stair Types
Understanding the different types of stairs is like knowing the secret password to the stair party – it's essential! Imagine you're trying to create a stair, but you're stuck on what type of stair you need. You're like, "Uh, is it a straight stair? Or maybe an L-shaped stair? Should I just sketch it? Ugh, I'm so confused!"
Here are the 5 types of stairs you'll encounter in Revit:

Why Do You Need Reference Planes?
Without Reference Planes, your stair design might start to look like a hot mess! You might end up with treads and risers that don't match, or railings that are all wonky. And trust me, you don't want to be the one trying to explain that to your client!

Straight Stairs
These are the simplest and most straightforward type of stairs. They're perfect for small spaces or when you just need a quick fix.
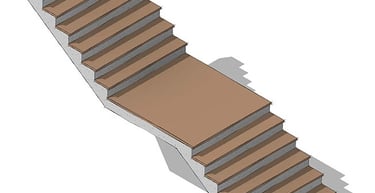
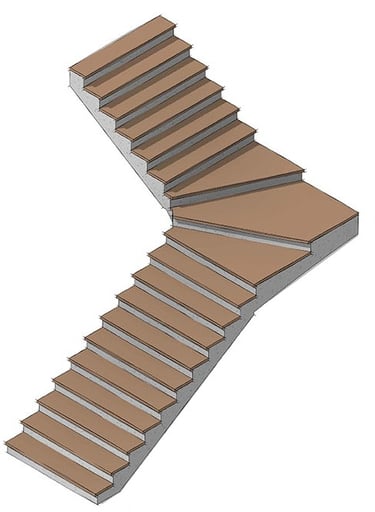
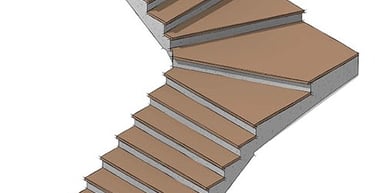
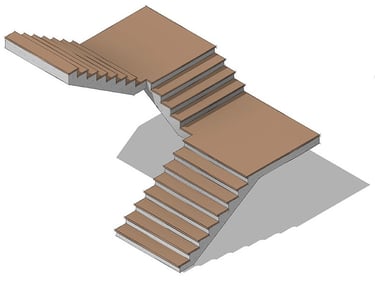
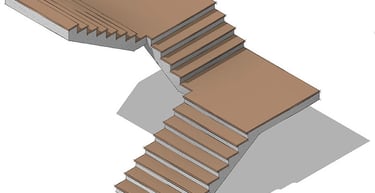
L-Shaped Stairs
These are like the cool cousin of straight stairs. They're a bit more complex, but still easy to work with. L-Shaped stairs are great for connecting two levels or creating a cozy nook.
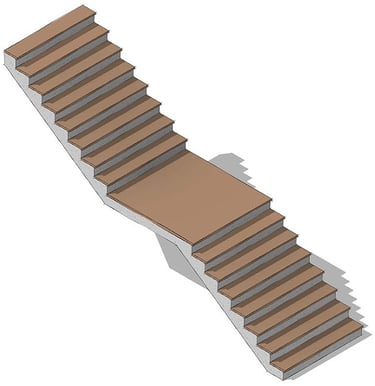
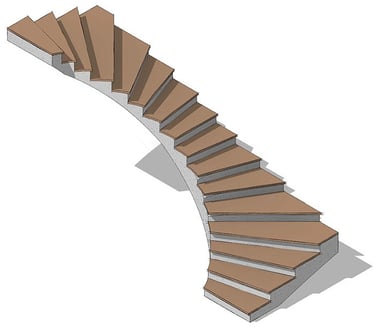
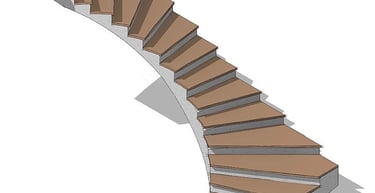
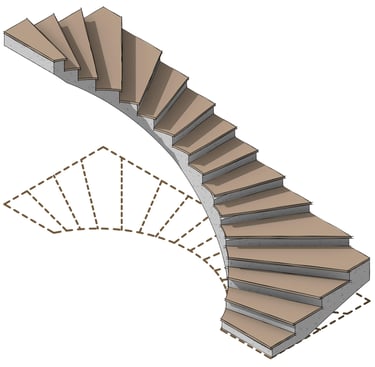
U-Shaped Stairs
These are like the life of the party – they're curvy and fun! U-Shaped stairs are great for adding some visual interest to your design or creating a dramatic entrance.
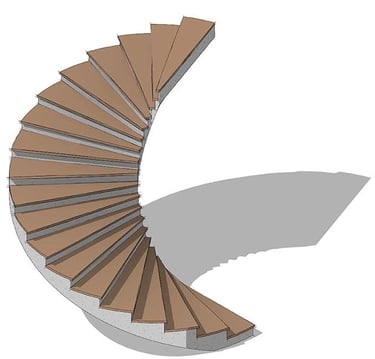
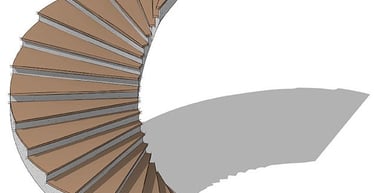
Spiral Stairs
They're perfect for small spaces or when you want to add some flair to your design.
Sketch Stairs
These are like the wildcard of the stair world – they're free-form and flexible! Sketch stairs are perfect for creating custom or complex stair designs.
So, before you start creating your stair masterpiece, make sure you know which type of stair you need. Take a moment to think about the purpose and location of the stair. This will help you choose the right type of stair for your project.
Rule #2:
Use Reference Planes for Accuracy
You're trying to create a stair that's so on-point, it'll make the Architectural Digest swoon?! But, let's be real, we've all been there - stuck in a design quagmire, wondering why our stair looks like it was built by a wobbly-legged giraffe.
Here's Where reference plans come to the rescue !!
What are Reference Planes?
Think of Reference Planes like a GPS for your design. They're invisible lines that help you stay on track and keep your elements in line (literally!). When you create a stair, you can use Reference Planes to guide your design and ensure that everything is properly aligned.


The Benefits of Using Reference Planes
Keep your stair aligned: Ensure your stair is perfectly aligned with the surrounding elements, eliminating those pesky "off-by-a-millimeter" errors.
Maintain precision: Reference Planes help you maintain precision and consistency throughout your design, making it easier to edit and modify your stair.
Save time: By using Reference Planes, you'll save time and reduce the risk of errors, which means you can get back to designing (and enjoying) your project sooner!

So, What's the Moral of the Story?
Use Reference Planes, people! They're like having a personal assistant for your design. They'll keep you on track, ensure accuracy, and save you from those pesky Revit errors.

Rule #3:
Use stair tool and not a model in place
Using the Model in Place tool for stairs is like trying to build a skyscraper with Lego blocks – it's a recipe for disaster!
Why?
1- Loss of Control:
When you use Model in Place, you're essentially telling Revit to create a bunch of random elements and then try to fit them together into a stair.
2- Accuracy Issues:
Without proper control, your stair will likely be off-kilter, with steps that are too big or too small, or risers that are all wonky.
3- Editing Nightmares:
When you need to make changes to your stair, using Model in Place means you'll have to edit each individual element separately.
4- Scheduling Issues:
And let's not forget about scheduling! When you use Model in Place, you'll end up with a mess of duplicate and redundant elements, making it impossible to schedule your stair accurately.

So, what's the solution?
Use the Stair Tool, of course! This tool is specifically designed for creating stairs.
Why the Stair Tool?
Control: The Stair Tool gives you precise control over every aspect of your stair, from the rise and run to the tread depth and railing.
Accuracy: With the Stair Tool, you can create accurate stairs with ease, ensuring that your design meets your project's requirements.
Editing Ease: When you need to make changes, the Stair Tool allows you to edit entire components at once, making it a breeze to modify your design.
Scheduling Sanity: And with the Stair Tool, you'll be able to schedule your stair accurately and easily, avoiding scheduling issues.

And that's the story!
Remember, understanding the different types of stairs, using reference planes for accuracy, and leveraging the Stair Tool for precision and control are just a few of the secrets to unlocking the mysteries of the Stair Tool.
So, if you want to explore more this topic you will probably enjoy videos below.
Your essential resource for Revit and BIM expertise. Find our comprehensive courses, professional families, and expert blog to elevate your skills.
© 2025 RVT PLUS. All rights reserved.
Quick Access
Recent Articles
Explore Our Shop